What Is a Custom Embosser? The Complete Guide to Ink-Free Branding for Documents, Stationery & Books
There is a moment when someone opens a letter and runs their finger across the top corner — feeling a raised seal instead of seeing a flat printed logo — that something shifts. The message still says the same thing, but it somehow carries more weight. That's the quiet power of an embosser: no ink, no color, no toner. Just pressure, metal, and paper transformed into something that feels permanent and intentional.
If you've encountered embossed seals on diplomas, legal documents, or wedding invitations and wondered how they work — or if you're trying to decide whether a custom embosser stamp is right for your business, stationery, or book collection — this guide covers everything you need to know.
What Is a Custom Embosser?
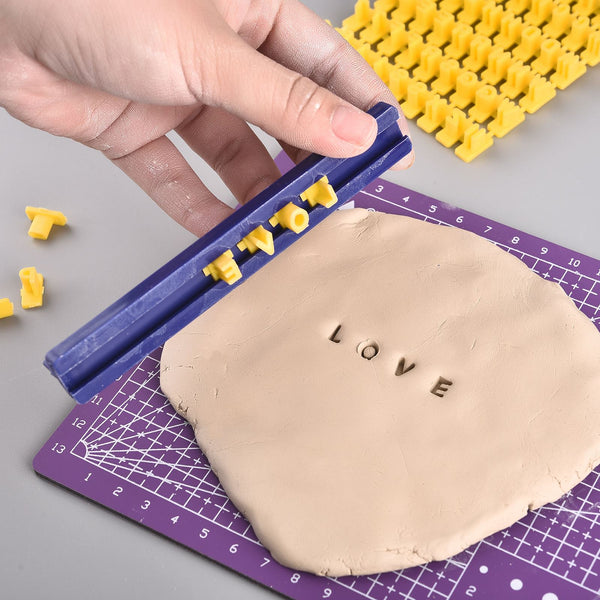
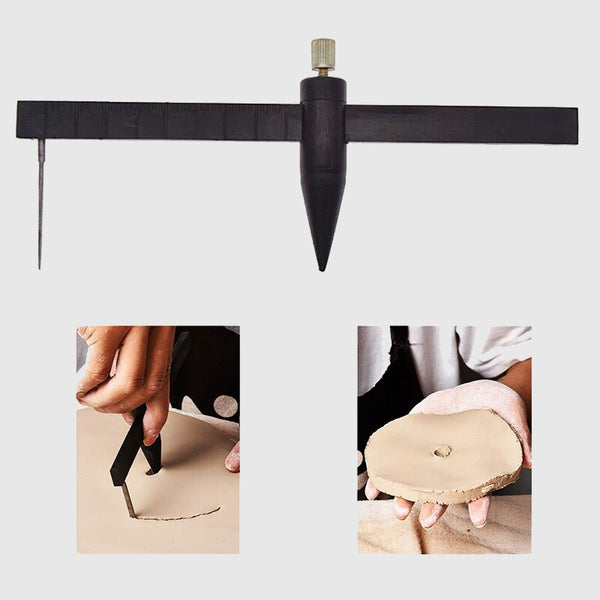
A custom embosser — also called an embossing seal, embossing stamp, or dry seal — is a handheld or desktop tool that presses a three-dimensional design directly into paper. Unlike a rubber stamp, which transfers ink from a pad to a surface, an embosser uses pressure alone. Two precision-engraved metal plates — one raised (the male die) and one recessed (the female die) — are pressed together around the paper, compressing the fibers and creating a permanent raised or sunken impression.
The result is entirely ink-free: a clean, tactile, three-dimensional design that cannot smear, fade, or bleed. The impression remains visible forever, catching light differently as the paper moves, adding a sense of depth and permanence that flat printing simply cannot replicate.
Custom embossers are made to order with your specific design: a company logo, a personal monogram, a return address, an "Ex Libris" inscription for a book collection, or any original artwork. The die plates are typically precision-engraved from brass or steel, ensuring sharp detail and lasting durability across thousands of impressions.
How Does an Embosser Work?
The mechanism is elegantly simple. An embosser consists of two components: the handle assembly and the die insert. When you squeeze the handles together, the upper and lower plates — each carrying a mirror image of your design, one protruding and one recessed — press against opposite sides of a sheet of paper simultaneously. The fibers in the paper are compressed between the two plates, taking on the shape of the design and retaining it permanently once the pressure is released.
Because no heat or liquid is involved, the process is clean and immediate. Slide the paper into the throat of the embosser, align your position, press firmly for two to three seconds, and release. The raised impression appears instantly.
The quality of the impression depends on three factors: the precision of the die engraving, the paper weight and texture, and the consistency of pressure applied. Well-made brass dies with clean engraving produce sharp, detailed results. Standard office paper or writing-weight stationery holds the impression beautifully. Even pressure — rather than rocking or pressing harder on one side — ensures the design transfers evenly across its full area.
Embosser vs. Rubber Stamp: Key Differences
Embossers and rubber stamps are often grouped together, but they serve quite different purposes and produce very different results. Here is how they compare across the factors that matter most:
| Feature | Custom Embosser | Rubber Stamp |
|---|---|---|
| Ink required | No — pressure only | Yes — ink pad needed |
| Impression type | 3D raised/recessed texture | Flat 2D inked image |
| Smear risk | None | Yes, until ink dries |
| Fade over time | Never | Possible with some inks |
| Color options | None (colorless by default) | Wide range of ink colors |
| Perceived formality | High — official, premium feel | Variable — casual to professional |
| Best for | Documents, seals, luxury stationery, books | Packaging, high-volume projects, fabric |
| Ongoing supply cost | None after purchase | Ink refills required |
The practical rule of thumb: choose an embosser when you want the result to feel official, permanent, and elevated. Choose a rubber stamp when you need color, high volume, or the ability to stamp on surfaces beyond paper. Many businesses use both — a rubber stamp for packaging and an embosser for correspondence and certificates.
What Is a Custom Embosser Used For?
The range of applications is broader than most people expect. Embossers were historically associated with legal and corporate seals, but their use today spans professional, personal, and creative contexts.
Corporate and Professional Documents
Law firms, notaries, architects, engineers, and corporate officials use embossers to authenticate documents with an official seal. A raised impression on a contract, deed, certificate, or official letter signals that the document has been verified and approved. The 3D impression is difficult to reproduce photographically, adding an additional layer of visual security that ink stamps cannot provide.
Certificates and Diplomas
Educational institutions, professional associations, and award bodies use embossed seals to validate achievement documents. The tactile quality of an embossed seal on a diploma communicates weight and permanence — the kind of thing that gets framed rather than filed.
Wedding and Event Stationery
Custom embossers are a popular tool for couples who want to DIY personalized elements of their wedding stationery. A monogram or crest embossed onto invitation envelopes, RSVP cards, or vellum overlays creates a refined, cohesive aesthetic without expensive custom printing. The same embosser can be used after the wedding for thank-you notes and future correspondence.
Business Letterheads and Envelopes
A logo embossed onto the top corner of a letterhead or the flap of an envelope elevates everyday correspondence into something that reflects brand quality. Research from the Direct Marketing Association found that tactile mail pieces generate a meaningfully higher response rate than digital-only outreach — and an embossed logo is one of the most cost-effective ways to create that tactile impression.
Book Stamping — Ex Libris
The tradition of Ex Libris — Latin for "from the books of" — dates to 15th-century Europe, when scholars and nobles marked their libraries with personalized bookplates. A custom embosser brings this tradition directly to the page: press your name, monogram, or design into the first page of every book you own. The result is permanent, elegant, and completely non-destructive to the text.
Gift Wrapping and Luxury Packaging
Small business owners and artisans use embossers on tissue paper, gift tags, and kraft paper bags to add a premium branded touch to their packaging without the cost of custom-printed materials. An embossed logo on packaging conveys the same attention to detail as the product inside.
Personal Stationery
From return address seals on personal letters to embossed notecards for correspondence, a custom embosser transforms everyday paper goods into something with a distinct personal identity. In a world dominated by digital communication, a letter with an embossed seal stands out simply by being physical.
Paper Weight & Material Compatibility
Embossers work best on paper, and paper weight — measured in grams per square meter (GSM) — directly affects the quality of the impression.
80–120 GSM is the optimal range for most handheld embossers. This covers standard office paper (80 GSM), writing paper, stationery, book pages, and lightweight envelopes. The fibers at this weight compress cleanly under pressure and hold the raised shape permanently.
120–160 GSM — heavier stationery, cardstock, and invitation paper — still produces good results with firm, even pressure. Most handheld embossers handle this range well.
Above 160 GSM — thick cardstock, heavy invitation stock, watercolor paper — may require a desktop model that applies greater mechanical force. Stampty's custom embosser works best on paper weights between 80 and 120 GSM for consistently clean results.
Very thin paper (below 70 GSM) — tissue paper, vellum, or onion skin — can wrinkle or tear under embossing pressure. Test on scrap material first and apply lighter pressure if using delicate stock.
Coated and glossy papers present a specific challenge: the coating can crack under pressure rather than compress cleanly. Uncoated papers — matte, laid, or woven textures — produce far superior embossed results.
Design Tips for a Crisp Embossed Impression
Because embossing works through physical compression rather than ink transfer, the design rules differ from those for standard printing. Following these guidelines ensures your embossed result is as sharp and legible as your original artwork.
Keep lines bold and clear. The minimum recommended line weight for embossing is 0.5mm. Lines thinner than this may not compress the paper cleanly, resulting in a blurry or incomplete impression. When in doubt, simplify and strengthen.
Avoid gradients and photographic detail. Embossing produces a single raised level — there are no halftones, shading, or tonal variation. Logos with gradient fills or photographic images will lose nearly all their detail. Convert artwork to a clean, high-contrast black and white version before submitting.
Submit vector files when possible. AI, EPS, and SVG files scale without quality loss and give die engravers the cleanest possible source material. High-resolution PNG or JPEG files (at least 300 DPI at the intended embossing size) are acceptable alternatives.
Scale the design to the die size. A 40mm die can accommodate impressive detail at full size, but elements that appear legible on screen may lose definition when compressed into a physical impression. Zoom in on your design at actual size before submitting, and check that all text remains readable.
Serif fonts generally emboss more cleanly than sans-serif. The serifs create visual distinction between letterforms as raised shapes. Very fine sans-serif typefaces can blur together if the letterforms are close. Use a minimum of 8pt type for plain text; more complex multi-line layouts work better at 14pt and above.
Test on scrap paper first. Before embossing anything important, run several test impressions on the same paper stock you plan to use. This lets you calibrate pressure and alignment without risking your final materials.
Understanding Embosser Orientation
Embosser orientation is one of the most commonly misunderstood aspects of ordering a custom embosser — and one of the most important, because it is fixed at production and cannot be changed afterward.
Orientation refers to the direction from which the embosser presses the design onto the paper. Because the handle assembly has a fixed throat (the opening where the paper slides in), the embosser can only reach a specific area relative to the paper edge. The four orientation options are:
- Top: The impression appears at the top of the page. Ideal for letterheads, stationery headers, and title pages.
- Bottom: The impression appears at the bottom of the page — typically near a signature or on an envelope flap. This is the most versatile orientation and the most commonly ordered.
- Left: Used for impressions along the left binding edge, common in book pages and bound documents.
- Right: Mirror of left — useful for right-side book pages and specific document layouts.
If you are unsure which orientation to choose, bottom is the safest default. It works for envelope flaps, document sign-off areas, thank-you cards, and the lower corners of stationery. When ordering from Stampty, you can include a note describing your intended use and the team will help confirm the right choice before production begins.
Handheld vs. Desktop Embosser
Custom embossers come in two main formats, each suited to different use patterns.
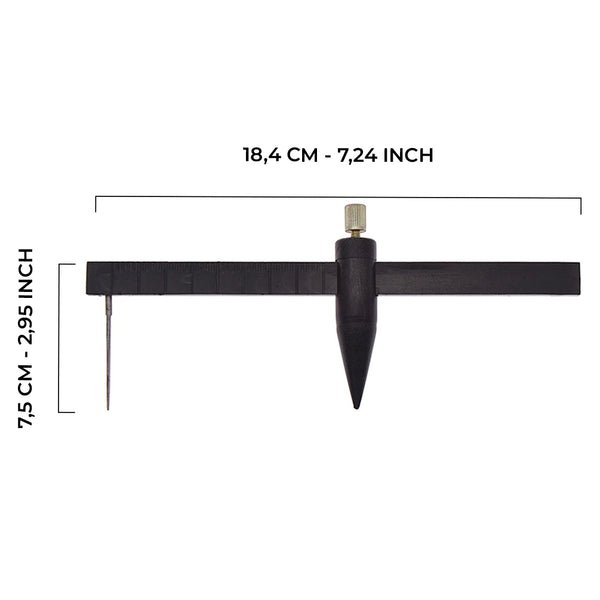
A handheld embosser is compact, portable, and works entirely by hand pressure. It is ideal for occasional use — marking books in a personal library, sealing a batch of wedding invitations, or embossing business correspondence a few times per week. The Stampty custom embosser is a handheld model, optimized for 80–120 GSM paper and producing a 1 5/8" (approximately 40mm) circular impression. Its ergonomic design requires minimal force to produce a deep, crisp result.
A desktop embosser (sometimes called a heavy-duty or lever embosser) is larger, sits on a flat surface, and uses a lever mechanism to apply significantly greater consistent force. Desktop models handle thicker paper stocks (up to 200–300 GSM), produce larger impression diameters, and are better suited for high-volume use — processing large batches of invitations or embossing stacks of certificates.
For most personal and small business applications — stationery, books, correspondence, certificates, and light packaging — a handheld embosser is entirely sufficient and far more practical to store and transport.
How to Order a Custom Embosser
The process of ordering a custom embosser is straightforward once you have your design ready:
- Prepare your artwork. A vector file (AI, EPS, or SVG) is ideal. If you only have a raster image, make sure it is at least 300 DPI at the actual embossing size. The artwork should be black and white, with all elements you want embossed in solid black.
- Choose your orientation. Decide whether you need top, bottom, left, or right orientation based on where you plan to position the impression. Bottom is the most common default.
- Place your order and upload your file. At Stampty, you can upload your design directly during the order process or email it to the team after purchase.
- Review your digital proof. Before production begins, you will receive a digital proof showing exactly how your design will appear on the die. Approve it or request adjustments — this is the right moment to catch any issues.
- Production and delivery. Once you approve the proof, production typically takes one to two days. Your embosser ships ready to use.
Designs that work well for embossing include company logos with bold lines, initials and monograms, circular text arrangements (common for official seals), and simple illustrative marks. If your existing logo is highly detailed or contains thin lines, Stampty can work with you to create an optimized version specifically for embossing.
Ready to create your own? Explore the Stampty custom embosser — available with your logo, monogram, or artwork, shipped with free worldwide delivery. For a different kind of elevated seal, the Stampty wax seal collection offers a complementary option for packaging and envelope sealing.
Frequently Asked Questions
What is a custom embosser stamp?
A custom embosser stamp is a handheld or desktop tool that uses two precision-engraved metal plates to press a three-dimensional design into paper. Unlike a rubber stamp, it requires no ink: the impression is created entirely through pressure, leaving a raised or sunken design that is permanent, smudge-proof, and elegant. The design can include your logo, monogram, name, address, or any custom artwork.
What paper weight works best with an embosser?
Standard paper weights between 80 and 120 GSM produce the clearest embossed impressions. This range covers most stationery, writing paper, book pages, and standard envelope stock. Heavier papers (above 160 GSM) may require more pressure or a desktop model. Very thin papers (below 70 GSM) can wrinkle or tear under the pressure of embossing.
What is the difference between an embosser and a rubber stamp?
An embosser creates a three-dimensional raised impression using pressure alone — no ink required. The result is tactile and permanent. A rubber stamp transfers ink from a pad to the paper surface, creating a flat two-dimensional impression in your chosen color. Embossers are preferred for official documents, luxury stationery, and permanent sealing. Rubber stamps are better suited for high-volume, colorful applications where speed and surface versatility matter more.
What artwork works best for an embosser?
High-contrast, black and white artwork produces the sharpest embossed impressions. Vector files (AI, EPS, SVG) are ideal. Minimum line weight should be at least 0.5mm. Avoid gradients, photographic detail, or very thin decorative elements. Bold logos, monograms, initials, and clean text all translate exceptionally well into embossed form.
What is embosser orientation and which do I choose?
Embosser orientation refers to the direction from which the seal is impressed onto the paper — top, bottom, left, or right. The orientation determines where on the page the embossing throat can reach. Bottom orientation is the most versatile choice and works for envelope flaps, document signatures, and general stationery. Because orientation is fixed at production, you must decide before ordering. When in doubt, choose bottom.